
3D-printer cart
The general idea was to make some kind cart to house my 3D-printer so that I could easily move it to a well-ventilated area (aka my bathroom) and I don’t have to breathe plastic :D
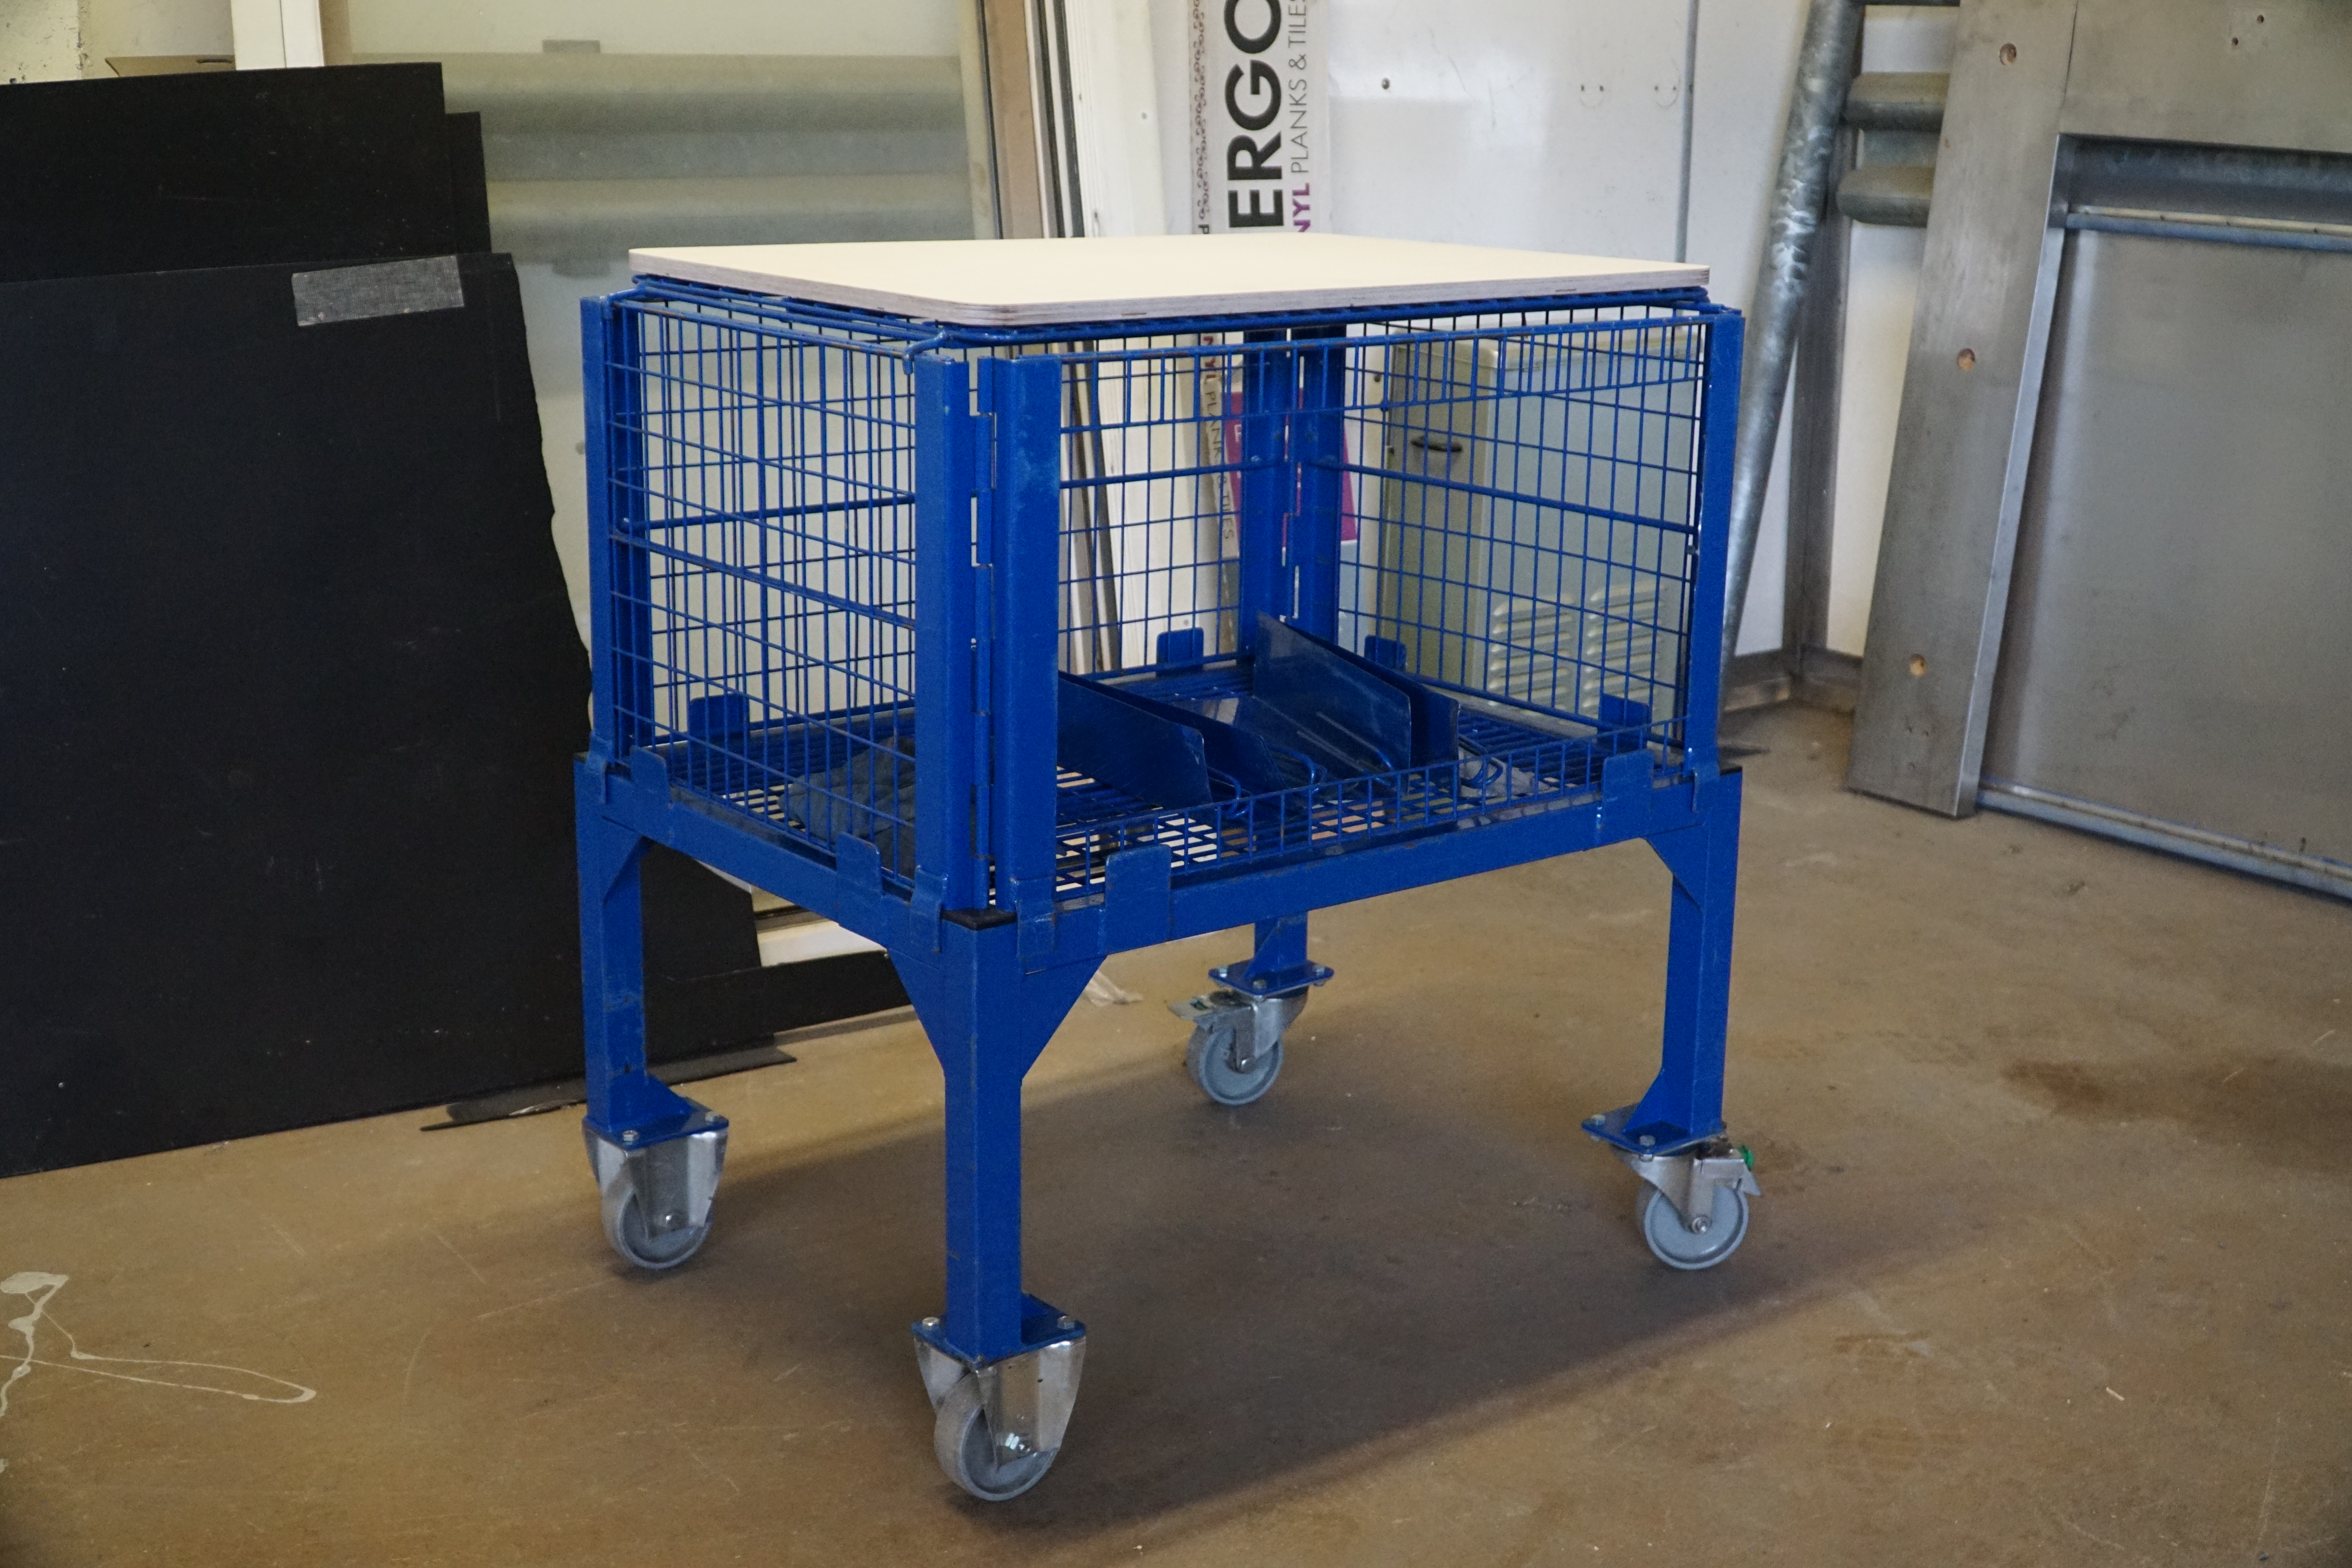
To achieve this I got this cart second hand, which I suspect was a display cart in some store:
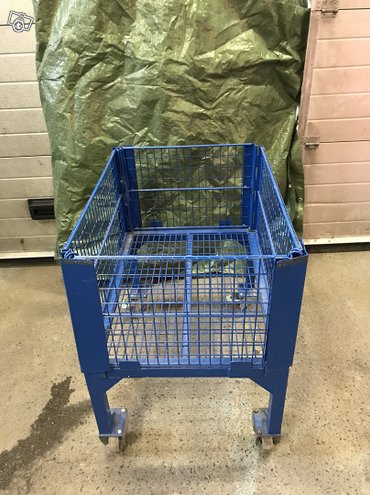
Turned out it was an even better deal then pictured, as it included a rack to put on top. So the only things to do were:
-
Make the inside accesible from at least one of the sides
-
Add a plank to the top rack to provide a stable platform to the printer
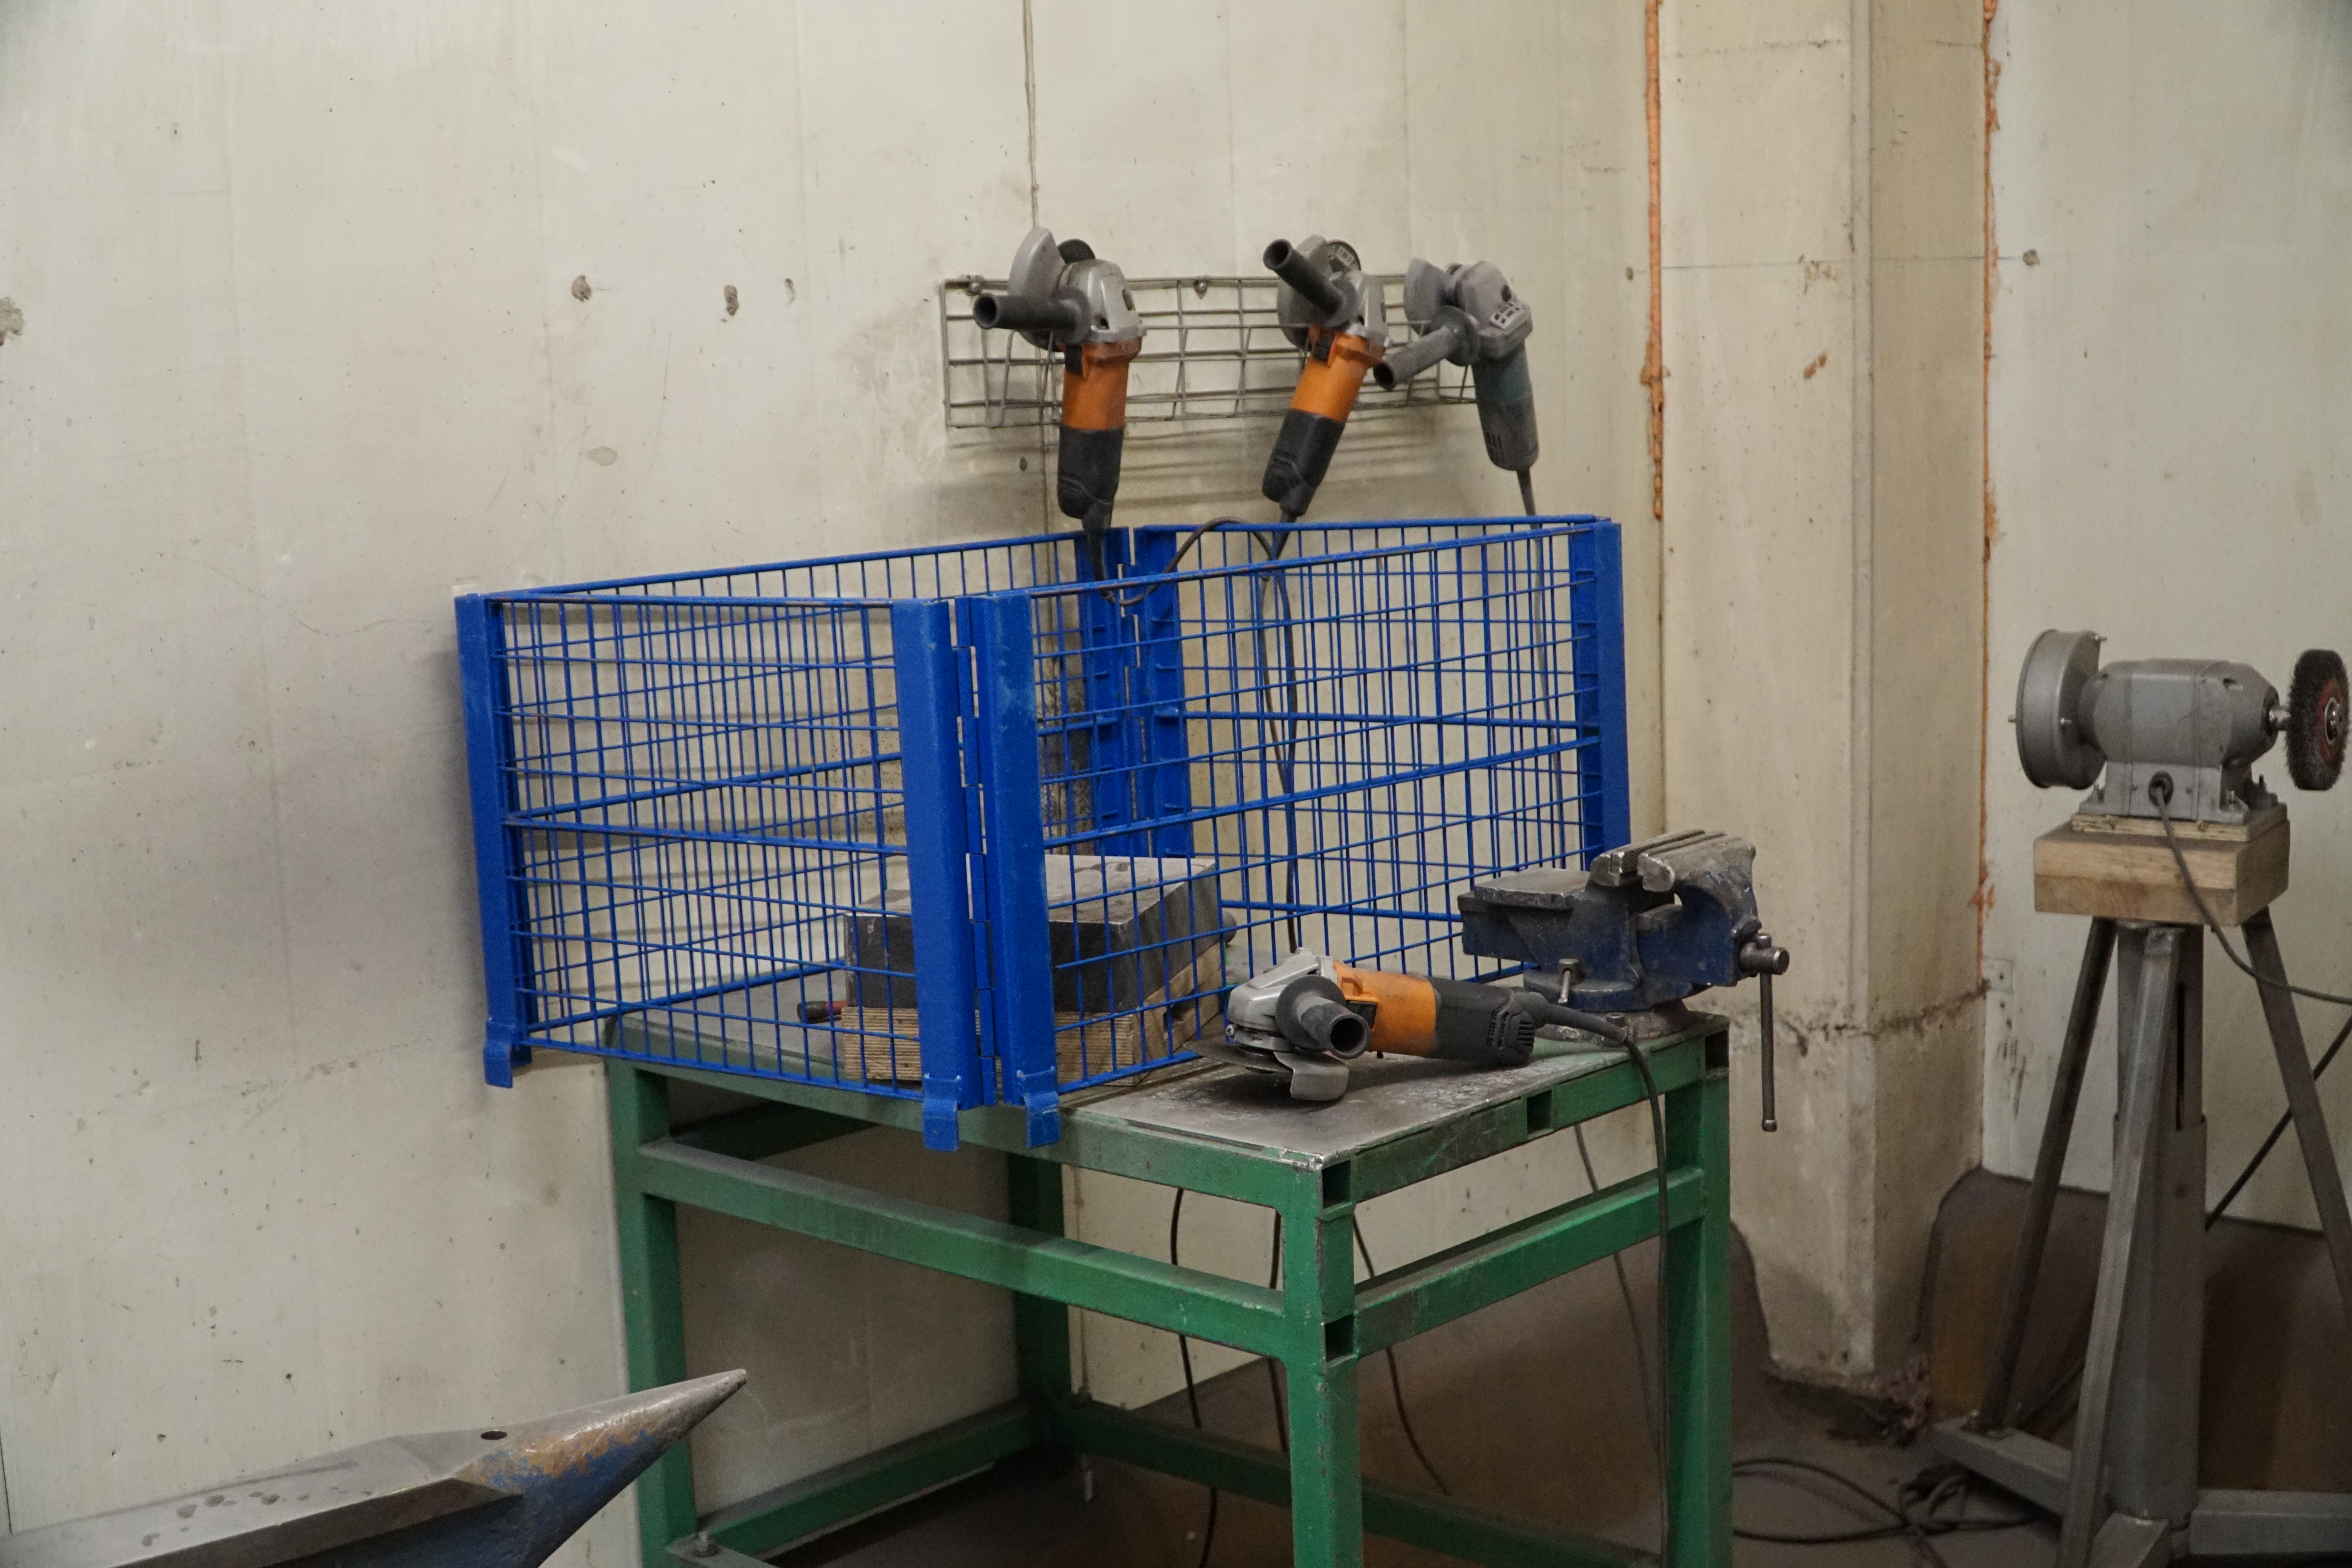
Side access
I started by making the inside accesible, by just cutting a hole into one of the sides. I originally planned to reinforce the side I cut the hole in with some braces since I was cutting away a structural beam. But when I cut the hole the structure seemed just fine so I will just roll (pun intended) with this for now (famous last words) :D
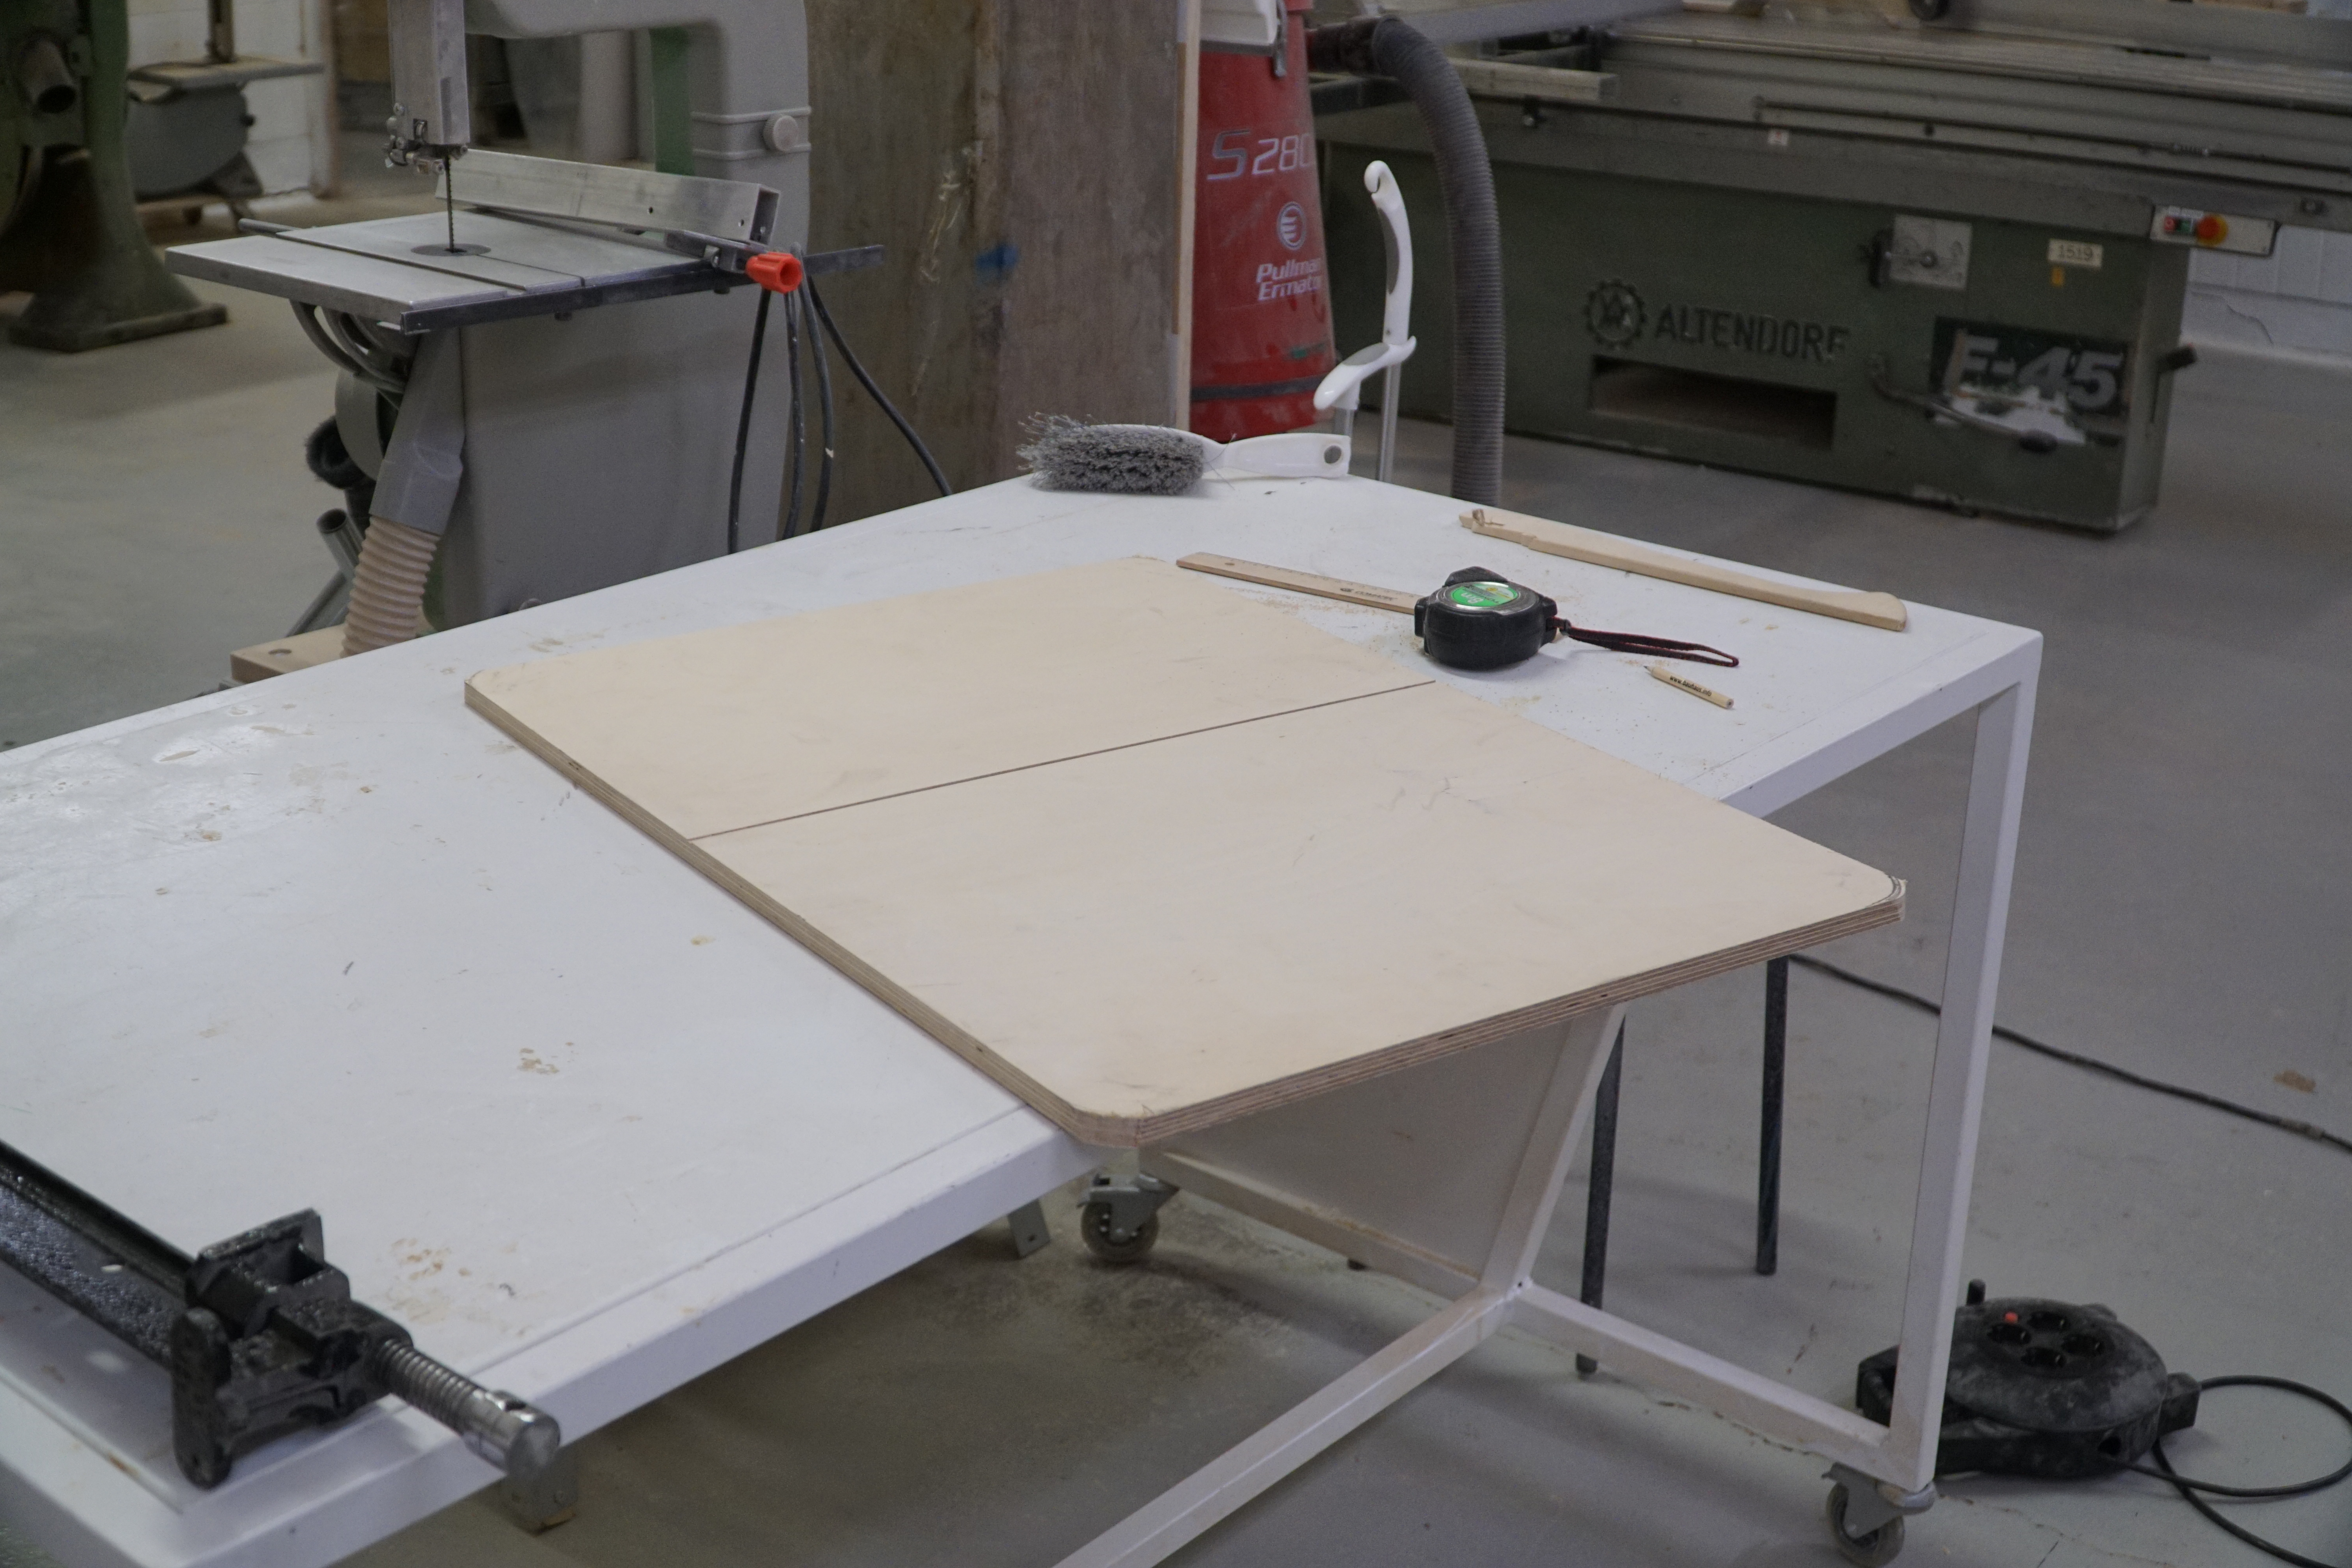
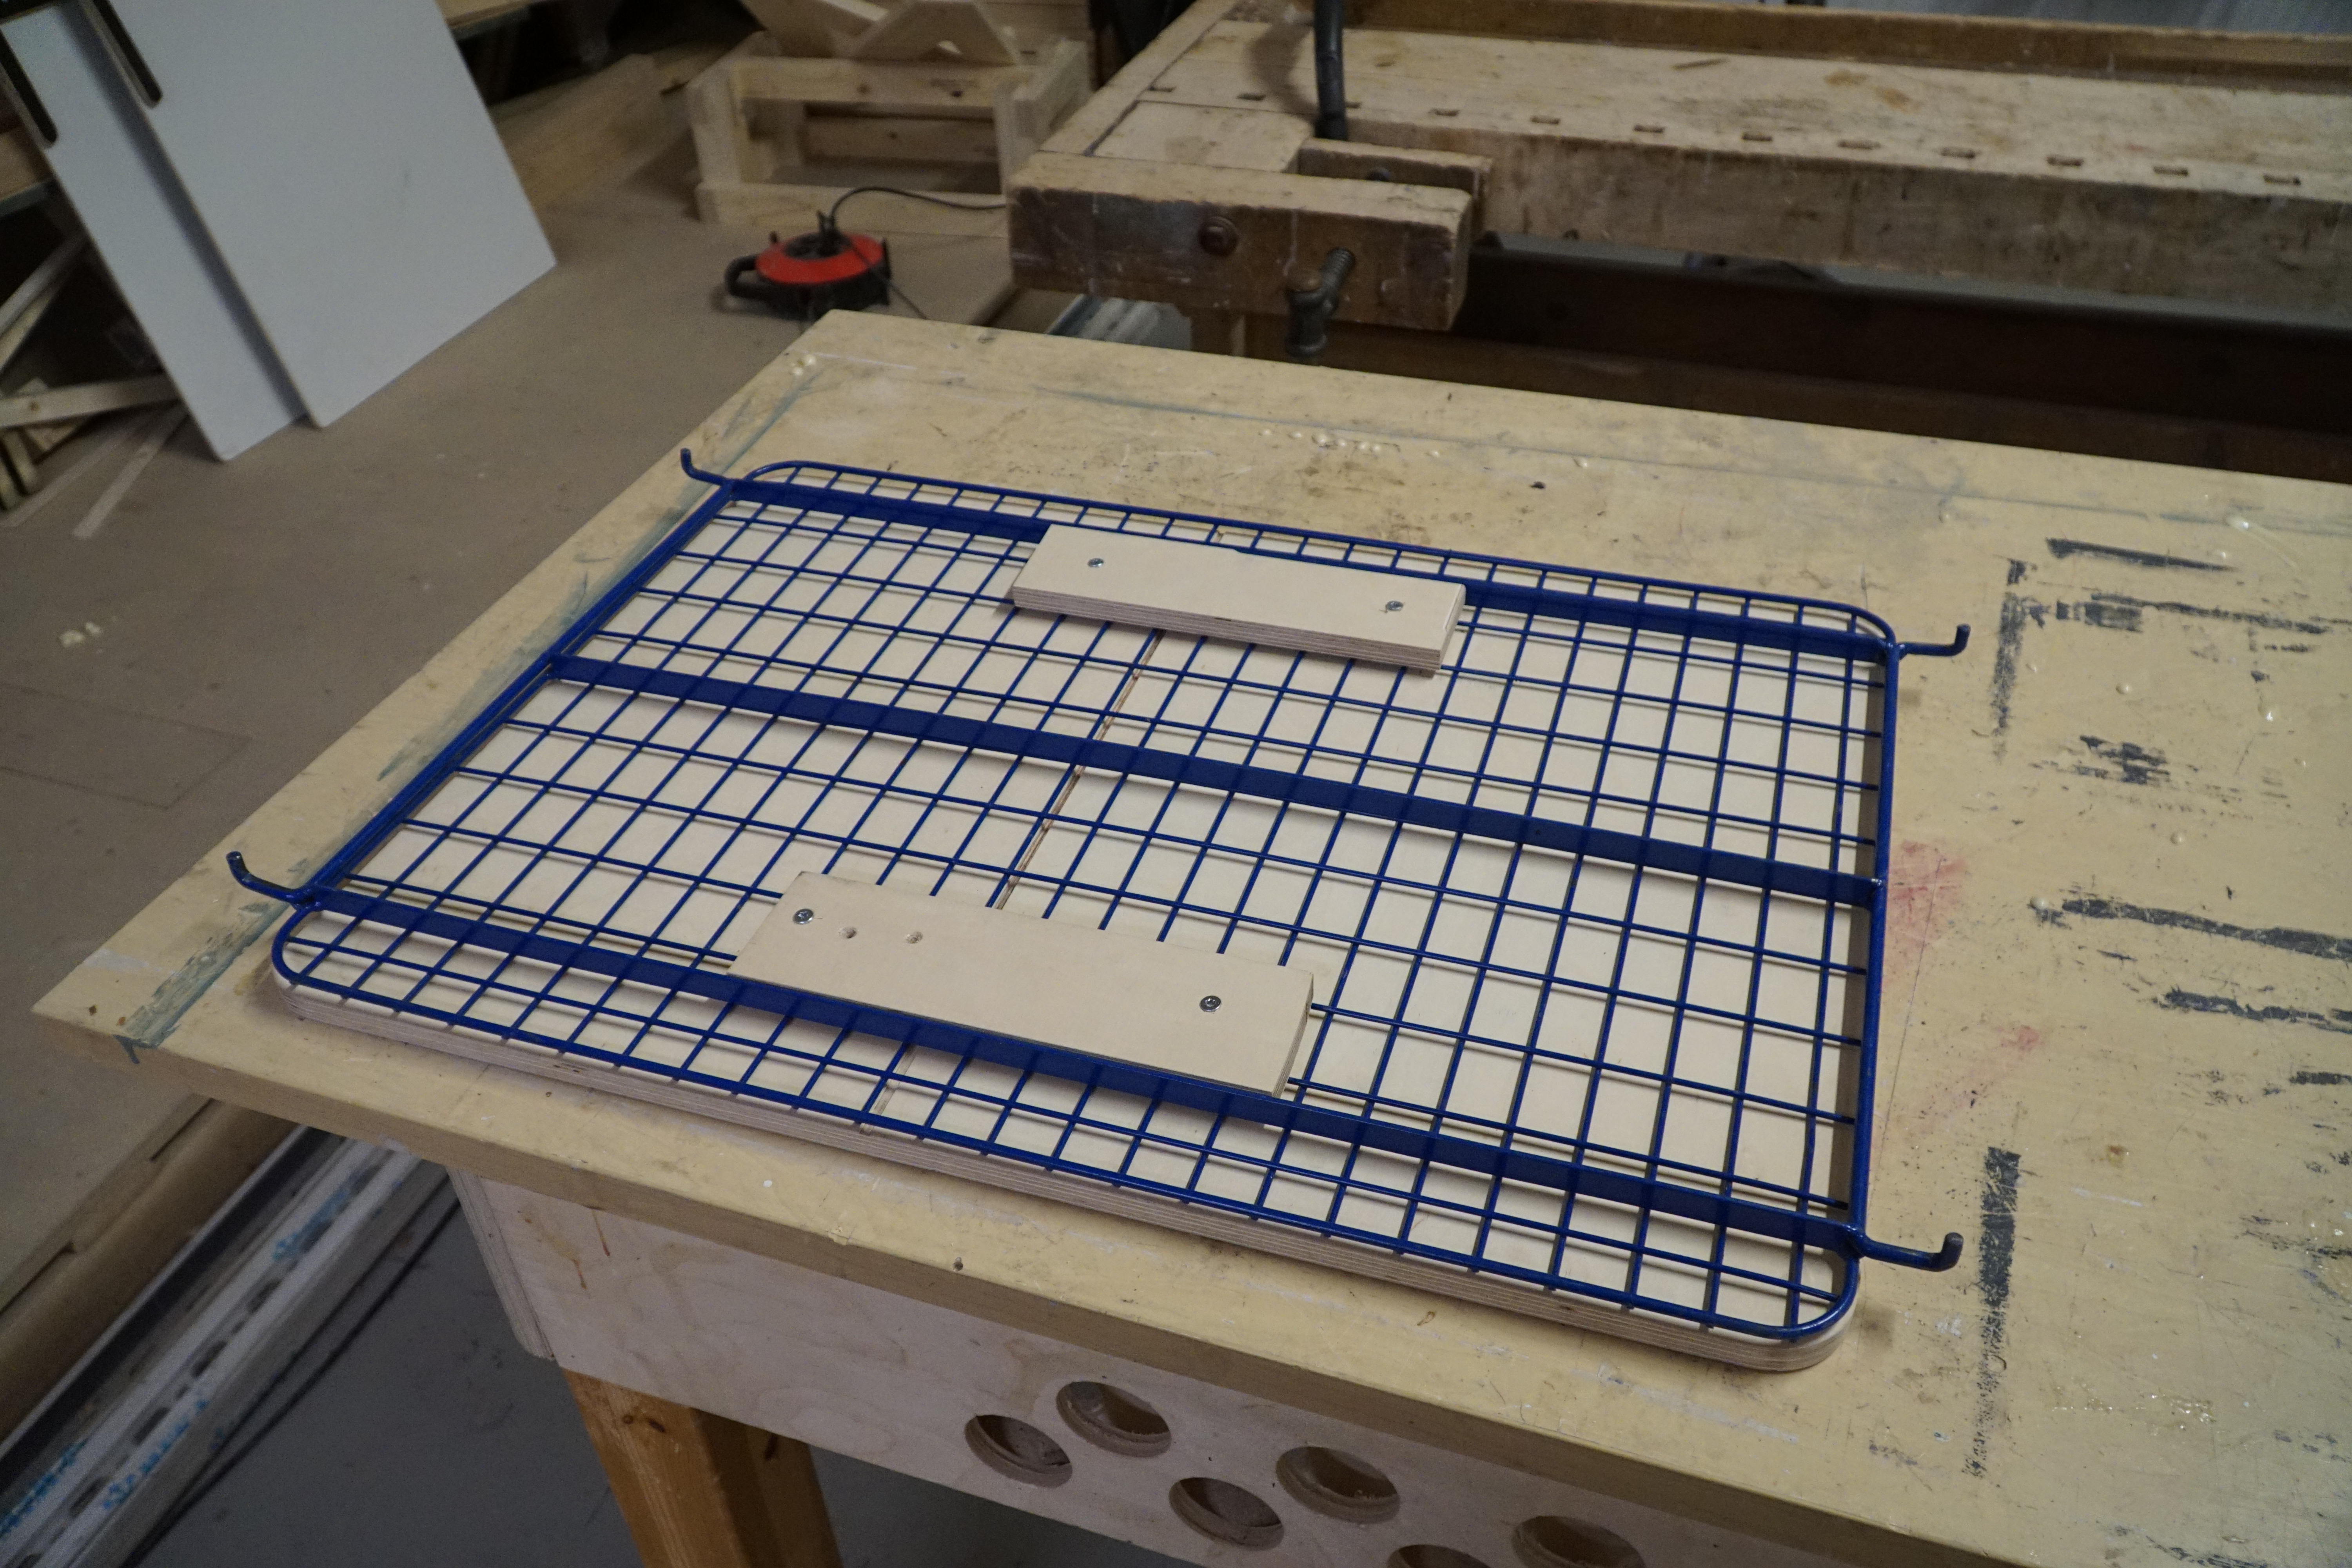
Top plank
As for the plank on top, I would have preferred to get some kind of wood that would be stain resistant, preferably plywood with some kind of laminate or veneer. But going to the store would have ruined my flow, so I just used a piece of baltic birch plywood that was available at the local hackerspace where I was working at. I cut this to size, rounded the corners, and sanded the surface.
I am quite happy with the resulting plank, but I did cut some corners with the mountin to the rack which will do nicer next time. I just used some left over plywood and screw to clamp the plank to the rack, which could have been neat, if I had not cut them skewed, used too short screws at first, and got the positioning right at first. Anyway, we don’t see that part, so we don’t talk about it either.
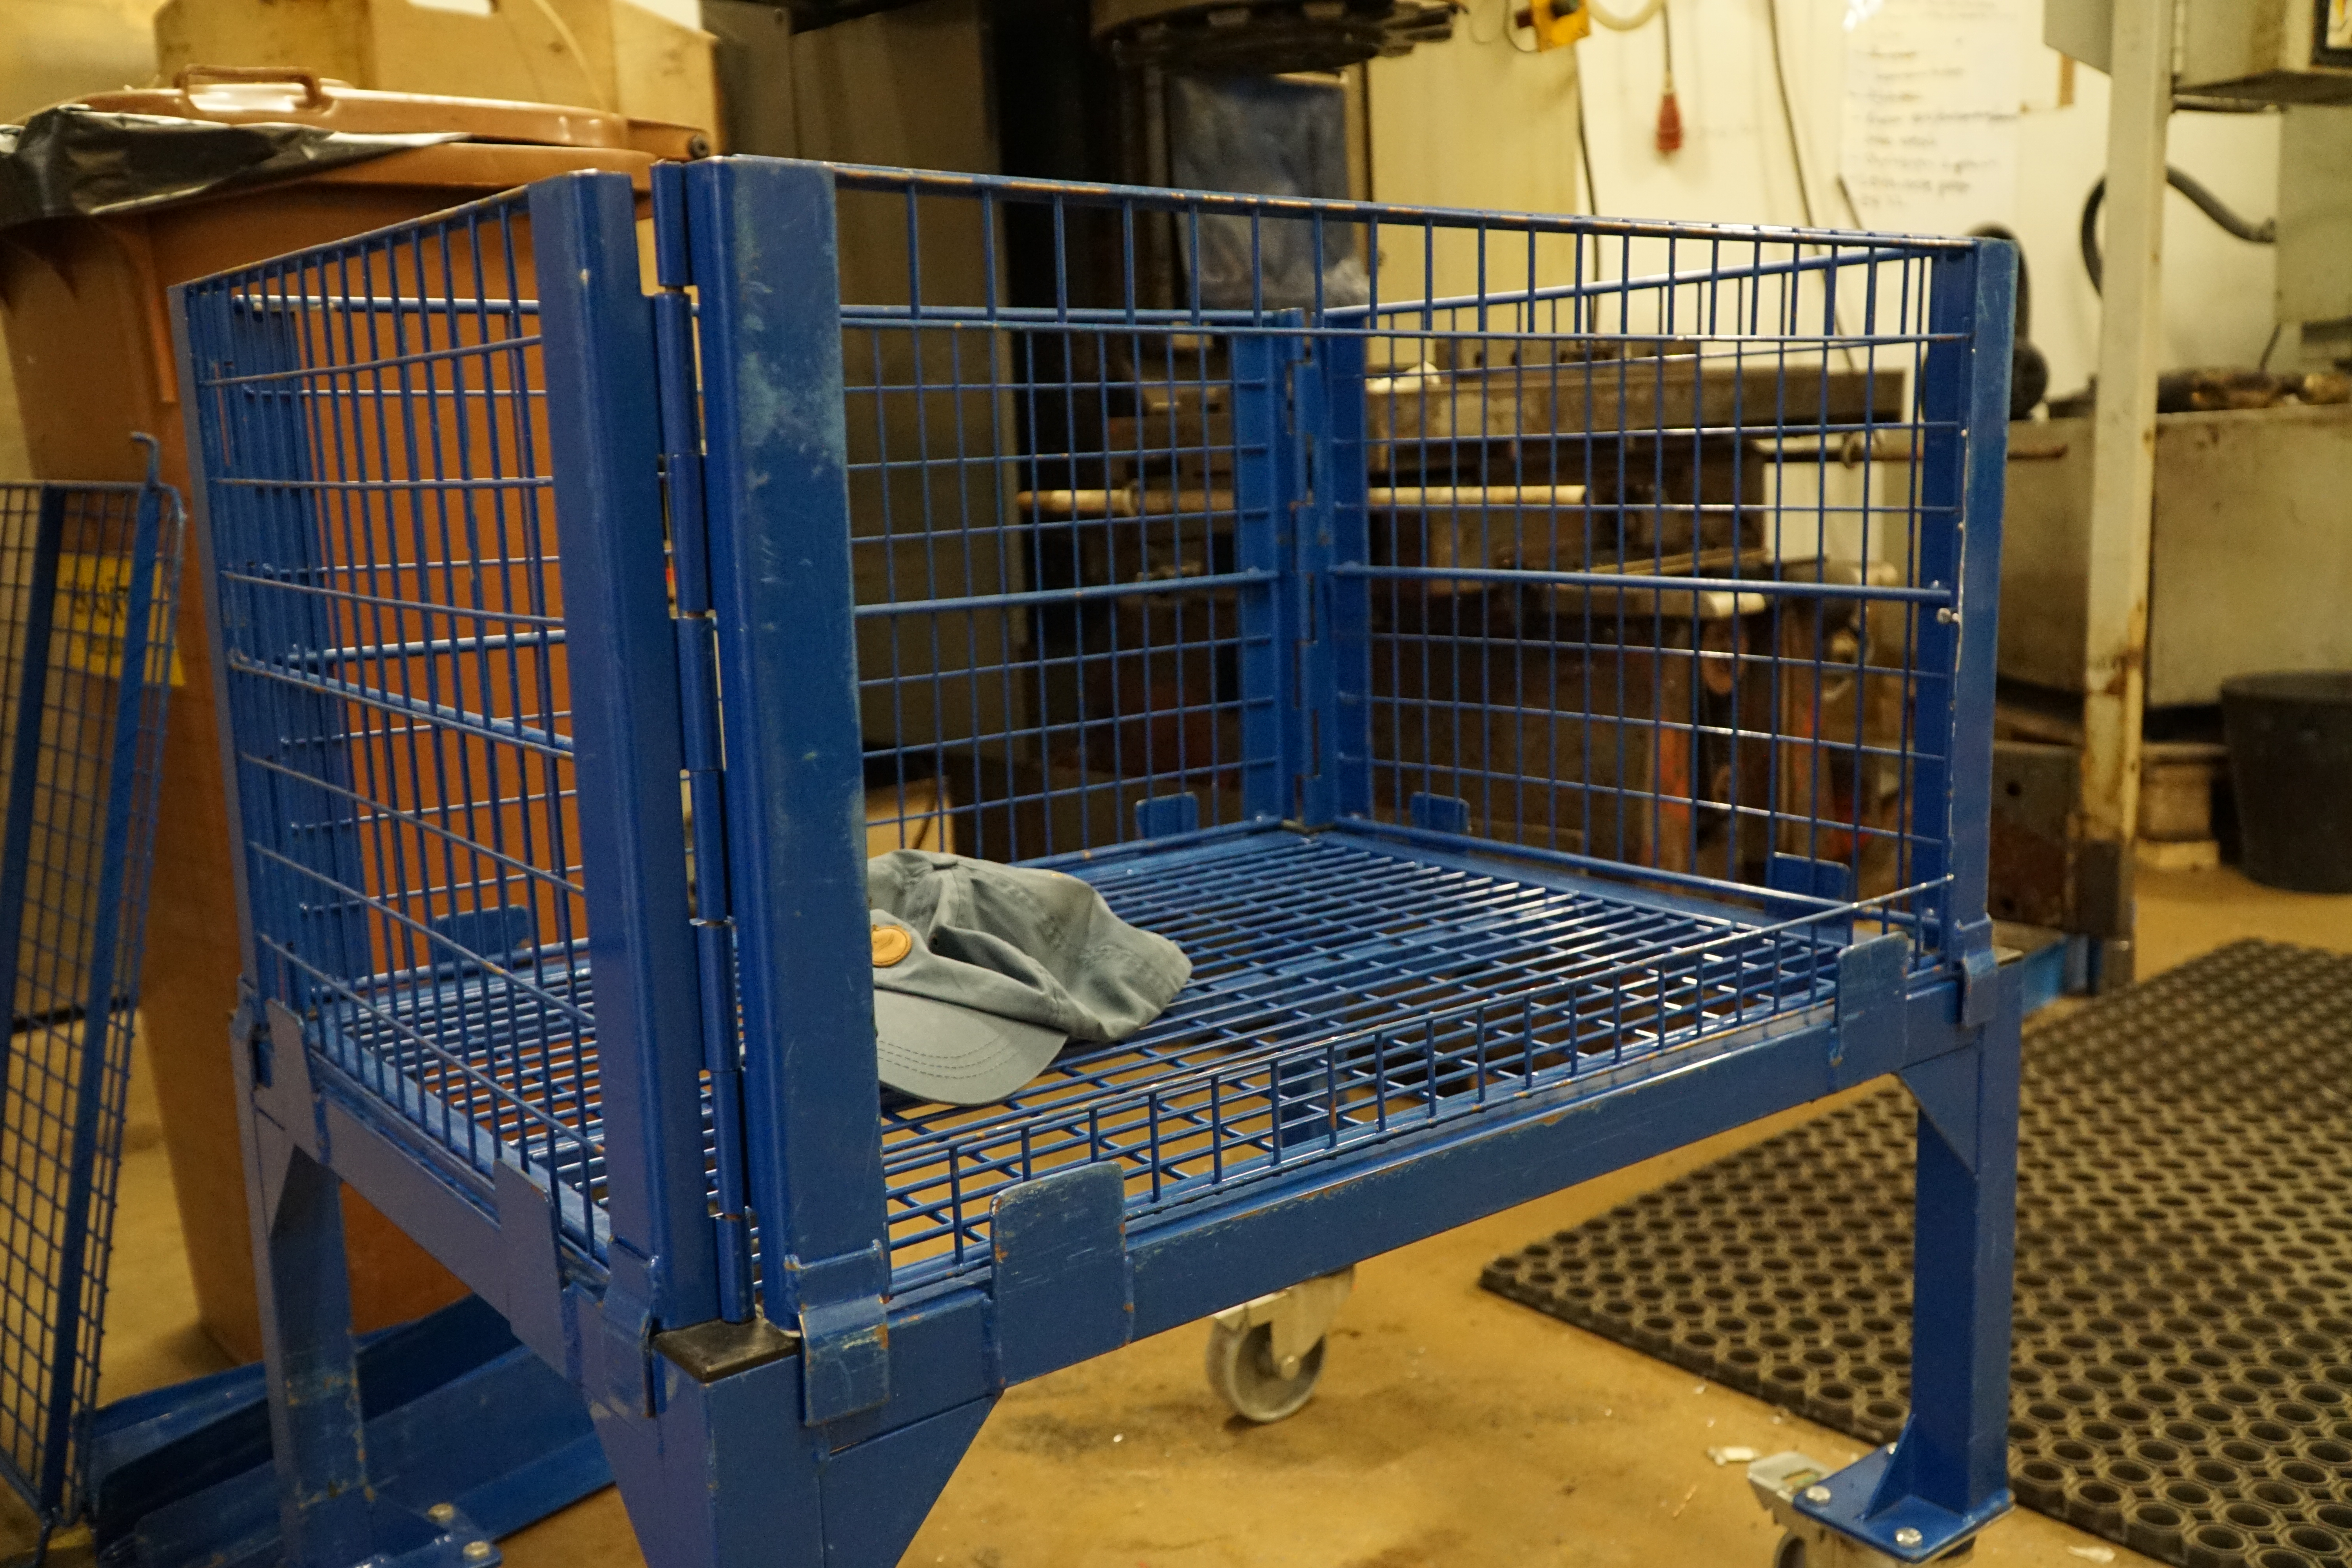
End result
Happy with the end result over all.
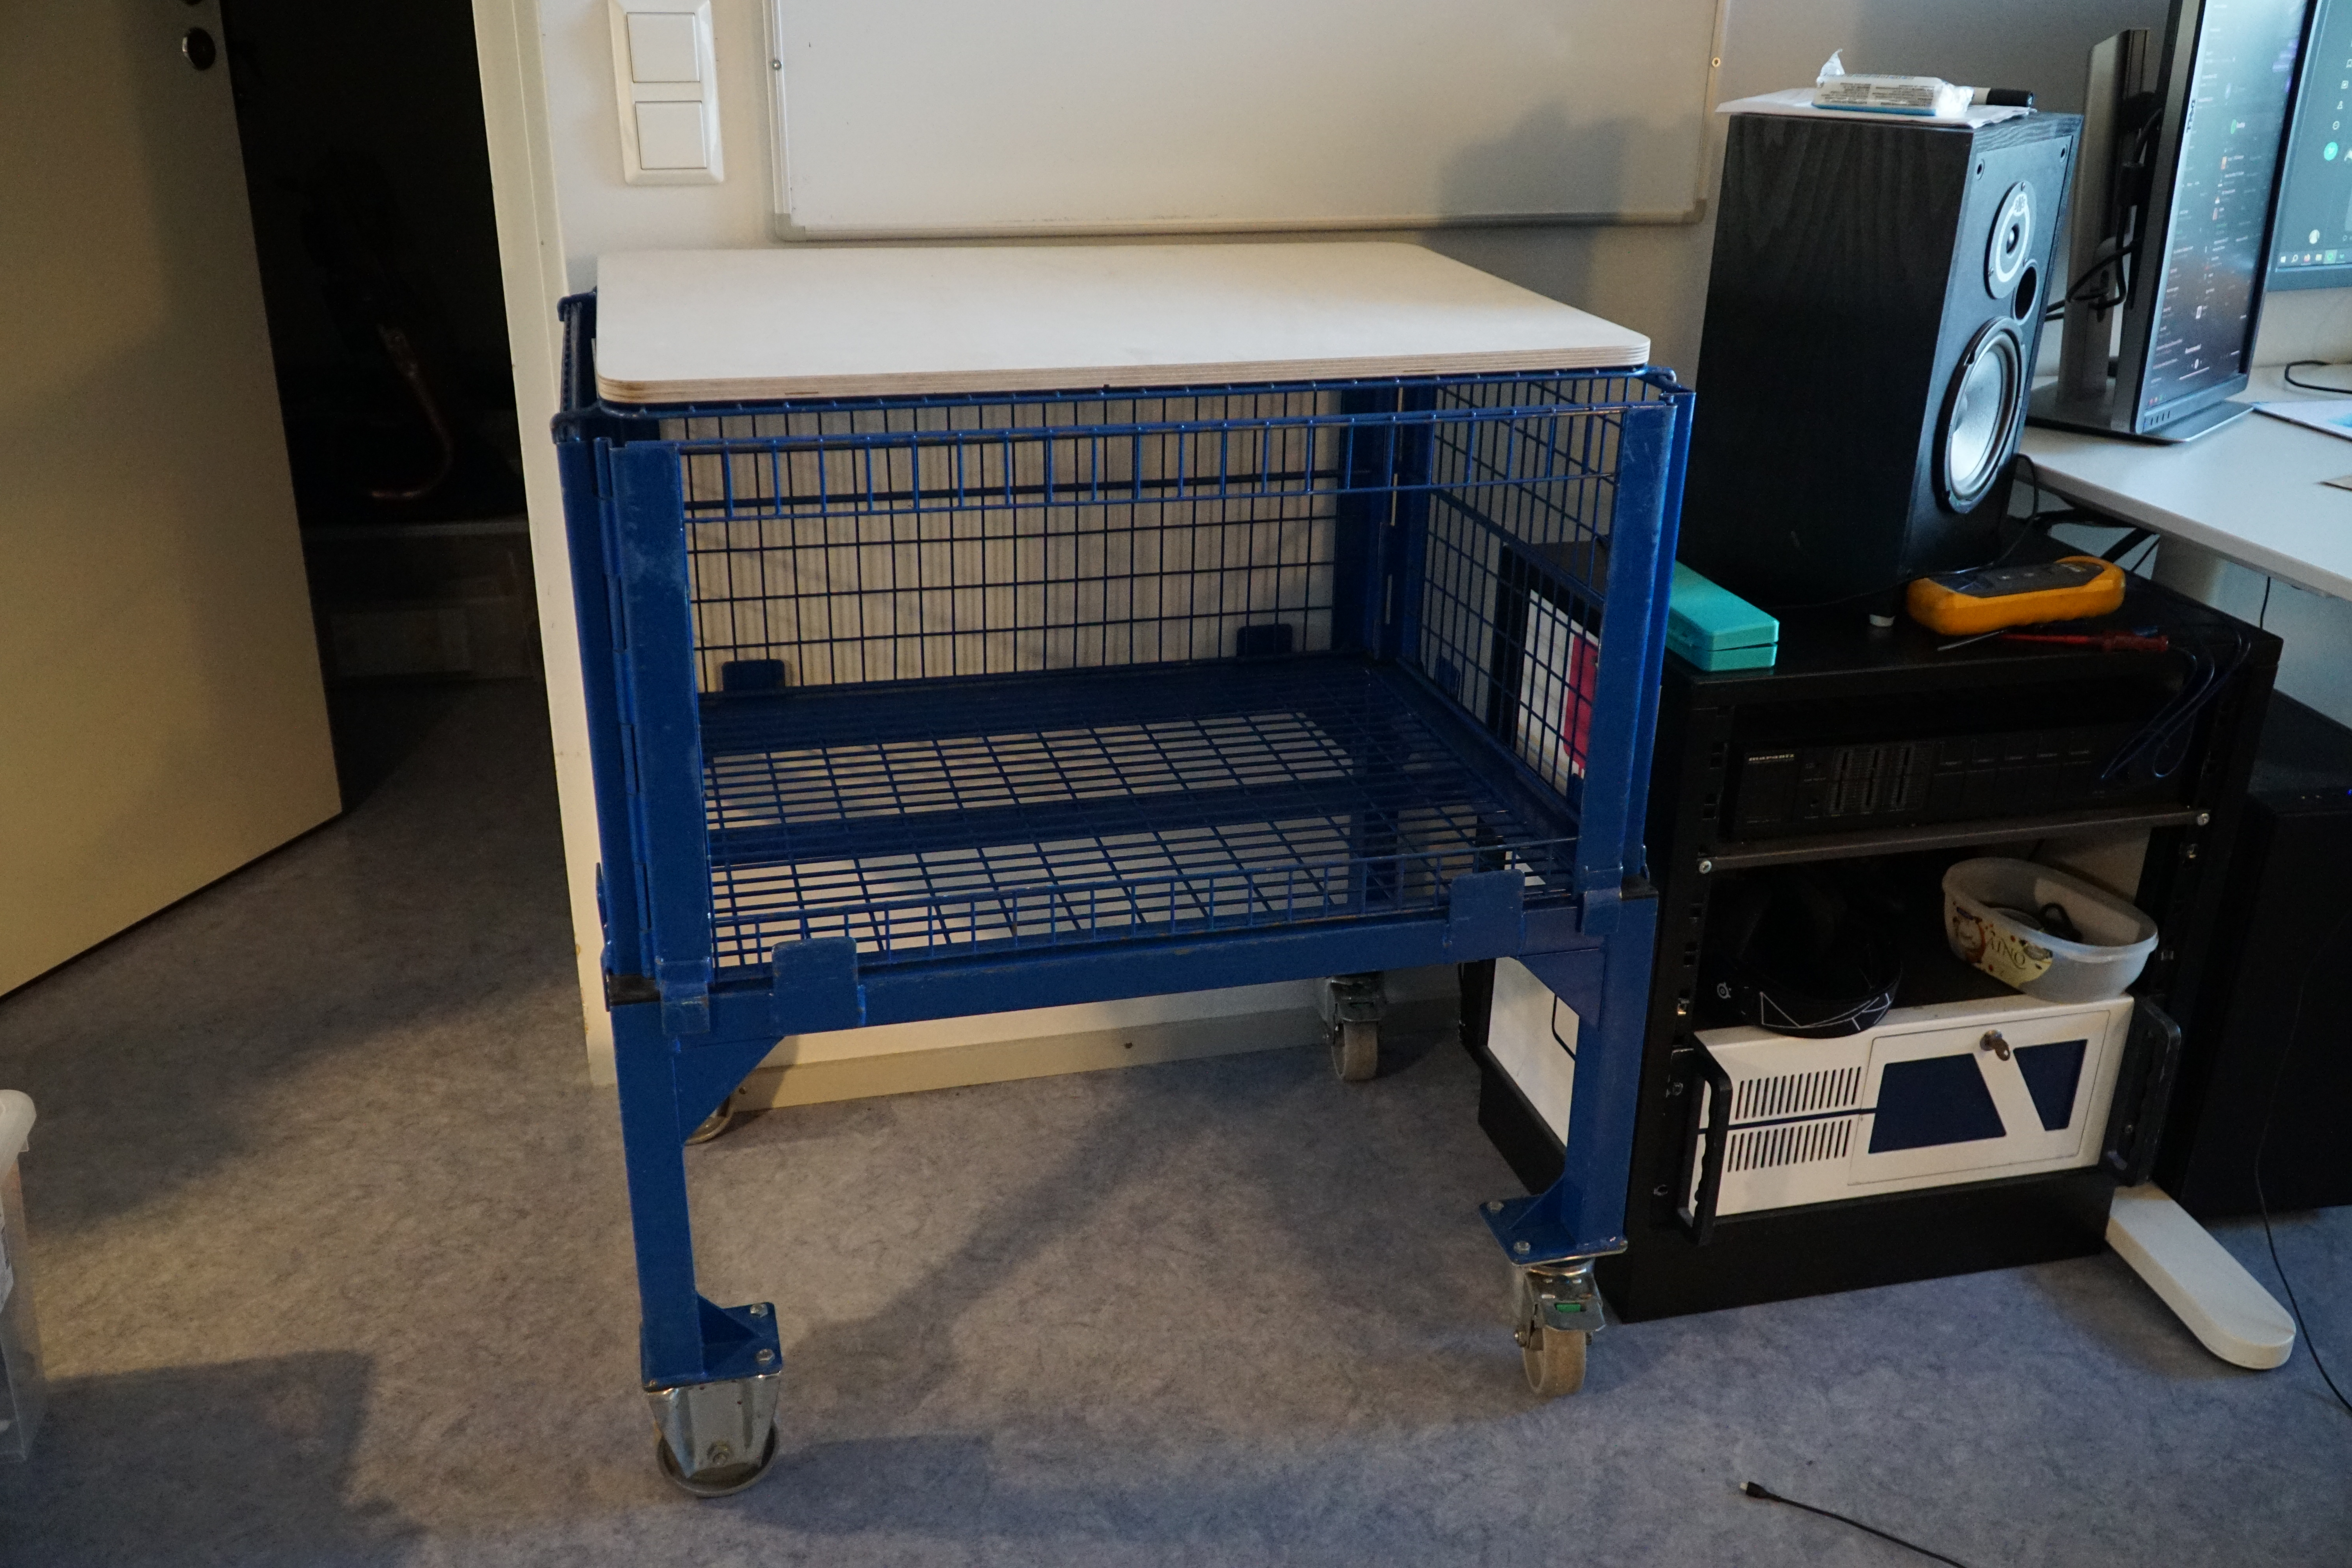
I don’t mind the original color and rough look at all, painting it would be too much work anyway and it would get scratched again =P
P.S. Still trying to figure out the process of doing a project and taking pictures of it at the same time, so these pictures are pretty shit.